
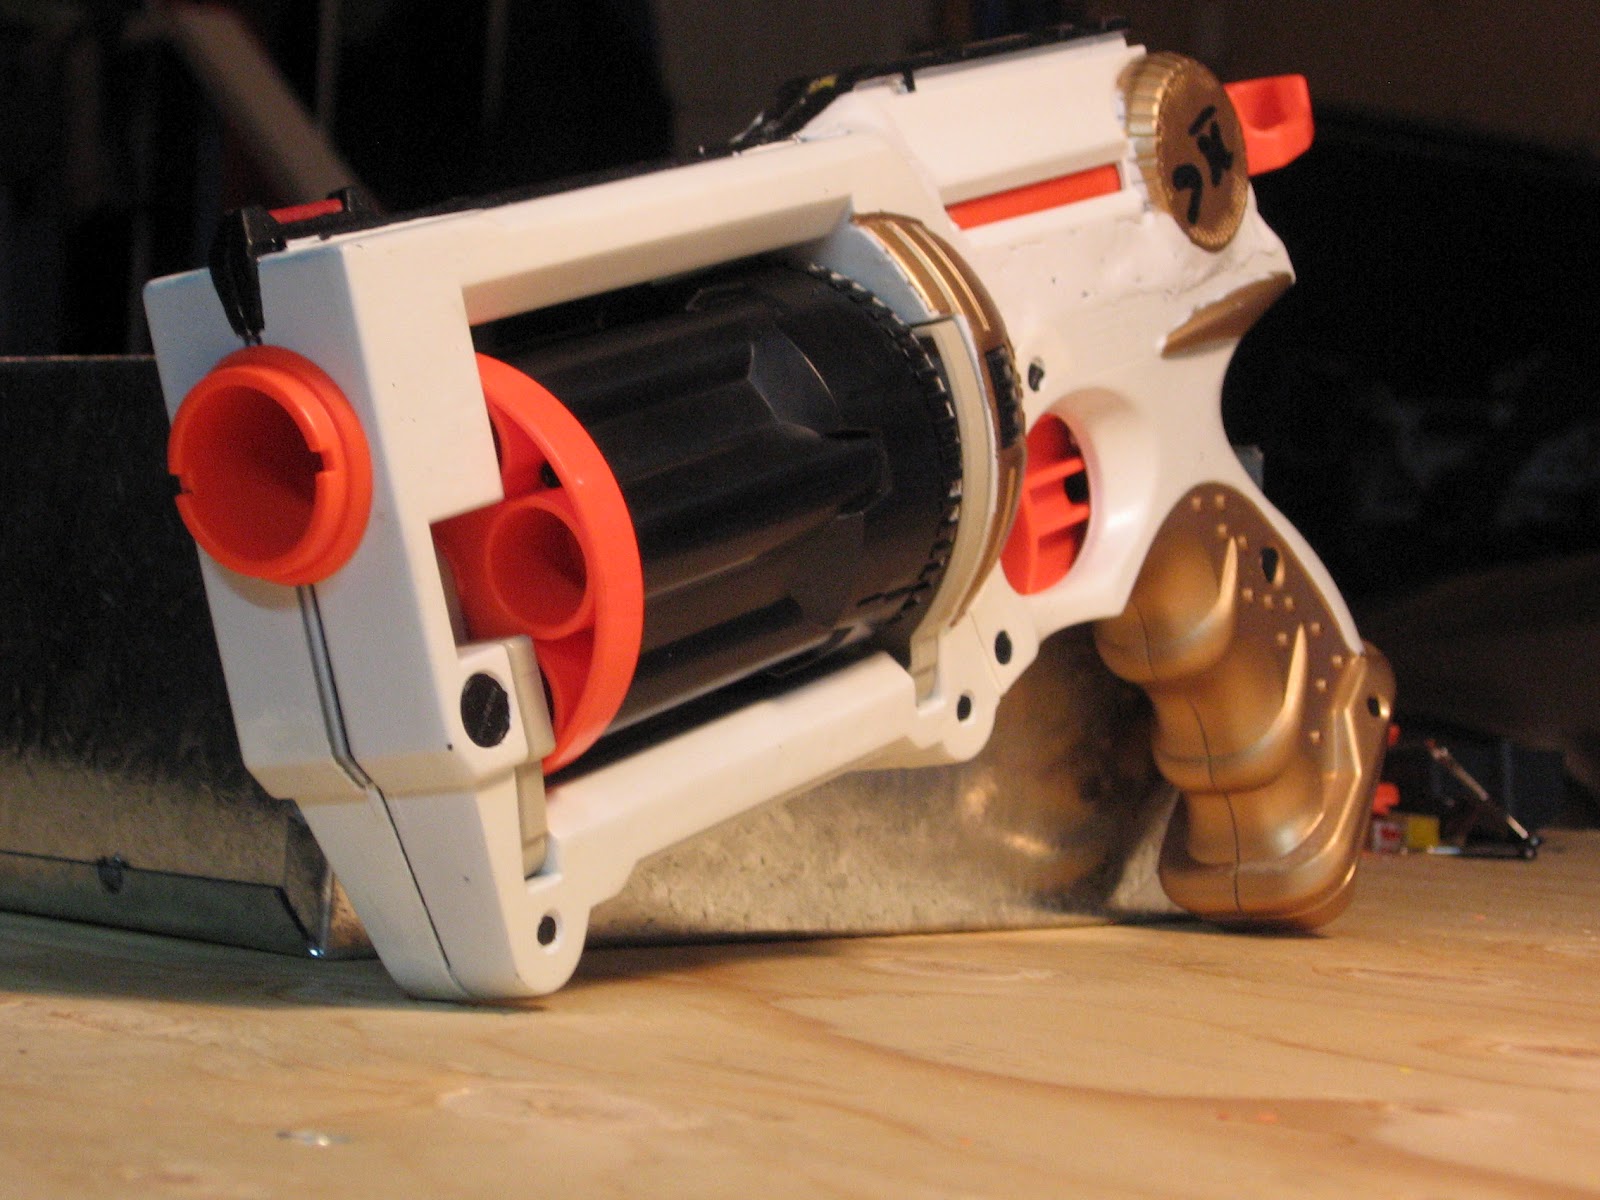
Here are the internals, which took me a long time to perfect. The trigger was not particularly troublesome, but you have to make sure to shave down the maverick internals where the nitefinder catch goes.

Sealing the plunger tube to the turret was the real problem that I had, for the turret refused to rotate once I had a good seal. Once the turret would rotate, my seal was bad. My fix for this, as was also recommended in Rogue's writeup, was to glue craft foam to the plunger tube and then rotate the turret several hundred times. This squeezed the foam enough that it still formed a good seal, but also allowed the turret to rotate.

The last thing that I did, was to add this spring to the trigger:

Doing so helps the turrets rotation, for the trigger returning forward advances the turret the rest of the way. Without it, I could only shoot the gun once before having to rotate the turret manually.
I highly recommend making Nitemavs, for they make great sidearms and look great when painted.
Don't forget to check out the youtube video!
I hope this was helpful for anyone interested.
No comments:
Post a Comment